Sealing and insulating your ductwork is an essential part of maintaining an efficient and comfortable home. If you have noticed fluctuating temperatures, high energy bills, or uneven heating and cooling, it might be time to give your ductwork some TLC. This guide will walk you through the benefits and drawbacks of sealing and insulating your ductwork and provide a step-by-step process to get it done right.
For Tons of Great Free Information please hit “Like & Subscribe”
Websiteconstructionconsumeradvocacyinstitute.com
Podcastanchor.fm/galloway
www.youtube.com/@ConstructionConsumerAdvocacy
Benefits of Sealing and Insulating Ductwork
Improved Energy Efficiency
Properly sealed and insulated ducts can significantly improve your home’s energy efficiency. By preventing air leaks, your HVAC system doesn’t have to work as hard, reducing energy consumption and lowering your utility bills.
Enhanced Comfort
Sealing ductwork helps maintain consistent temperatures throughout your home. By insulating, you prevent heat loss or gain, ensuring that rooms stay at the desired temperature.
Better Indoor Air Quality
Sealing your ducts minimizes the entry of dust, pollutants, and allergens into your home. This results in cleaner, healthier air for you and your family.
Reduced Wear and Tear on HVAC System
An efficiently working HVAC system experiences less strain, which can extend its lifespan and reduce the need for costly repairs.
Drawbacks of Sealing and Insulating Ductwork
Initial Cost
There is an upfront cost associated with sealing and insulating ductwork. However, the long-term savings on energy bills often outweigh the initial investment.
Time-Consuming
The process can be time-consuming, especially if you’re doing it yourself. Hiring a professional can speed things up, but it will increase costs.
Requires Expertise
While sealing and insulating ductwork is not overly complicated, it does require some knowledge and skill. Mistakes can lead to ineffective insulation and wasted effort.
Step-by-Step Guide to Sealing and Insulating Your Ductwork
Materials Needed
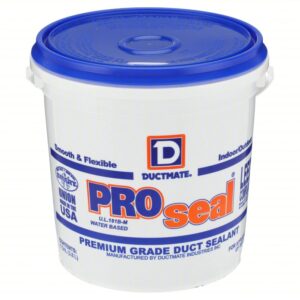
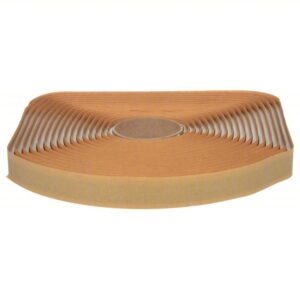
- Duct mastic or foil tape
- Insulation material (e.g., fiberglass or foam)
- Utility knife
- Measuring tape
- Brush or putty knife
- Gloves and safety goggles
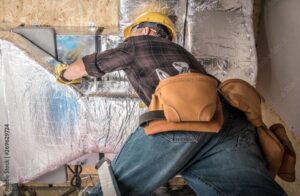
Step 1: Inspect Your Ductwork
Begin by thoroughly inspecting your ductwork for any signs of leaks, gaps, or damage. Pay special attention to joints, seams, and connections.
Step 2: Clean the Surface
Ensure the ductwork surface is clean and free of dust and debris. This will help the mastic or foil tape adhere better.
Step 3: Seal the Leaks 
Use duct mastic or foil tape to seal any leaks or gaps you find. Apply the mastic with a brush or putty knife, ensuring a thick, even layer. For foil tape, firmly press it over the gaps to seal them.
Step 4: Measure and Cut Insulation 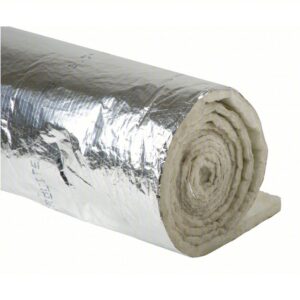
Measure the length and circumference of your ductwork to determine how much insulation material you need. Use a utility knife to cut the insulation to size.
Step 5: Apply the Insulation
Wrap the insulation material around the ductwork, securing it with tape or fasteners as needed. Ensure there are no gaps or loose sections. If using fiberglass insulation, wear gloves and safety goggles to protect yourself from irritation.
Step 6: Secure the Insulation
Use duct tape or mechanical fasteners to secure the insulation in place. Make sure it is tight and well-fitted to prevent any air leaks.
Step 7: Inspect Your Work
After sealing and insulating, inspect your work to ensure everything is properly secured and there are no exposed sections.
Conclusion
Sealing and insulating your ductwork can lead to improved energy efficiency, enhanced comfort, better indoor air quality, and reduced wear and tear on your HVAC system. While there are some initial costs and time investments involved, the long-term benefits make it a worthwhile project.
Ready to take the next step towards a more comfortable and energy-efficient home? Start sealing and insulating your ductwork today!